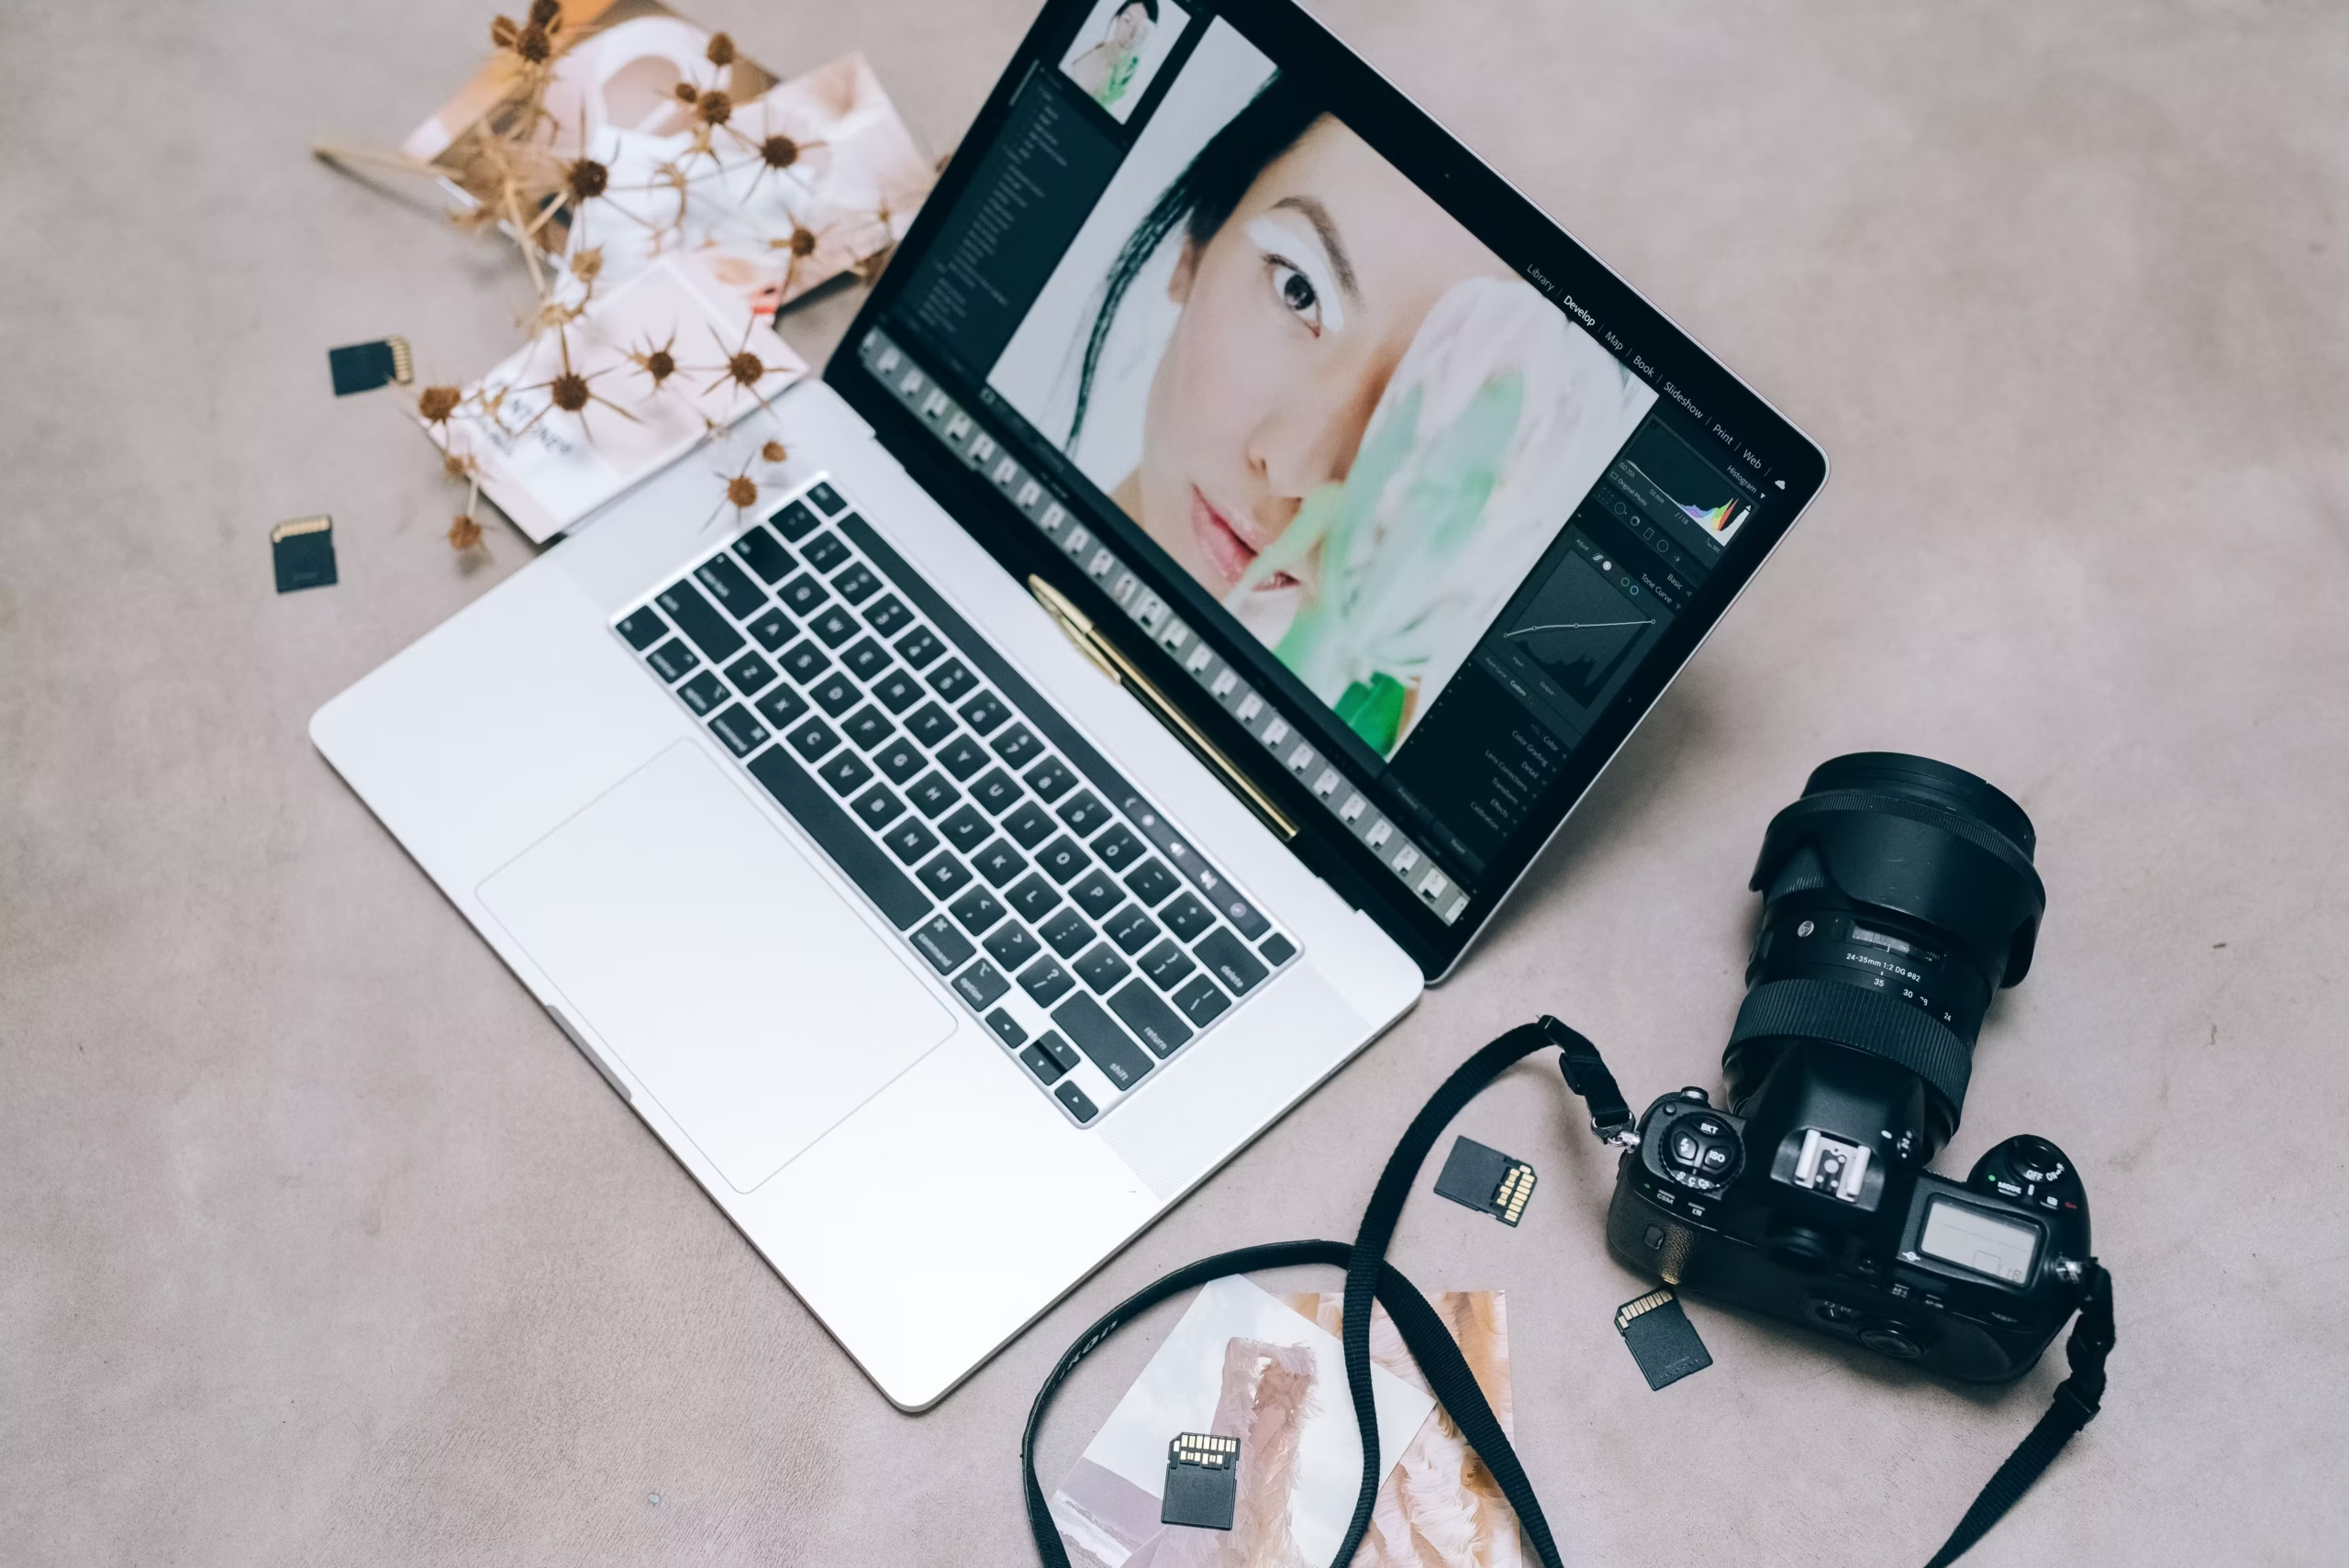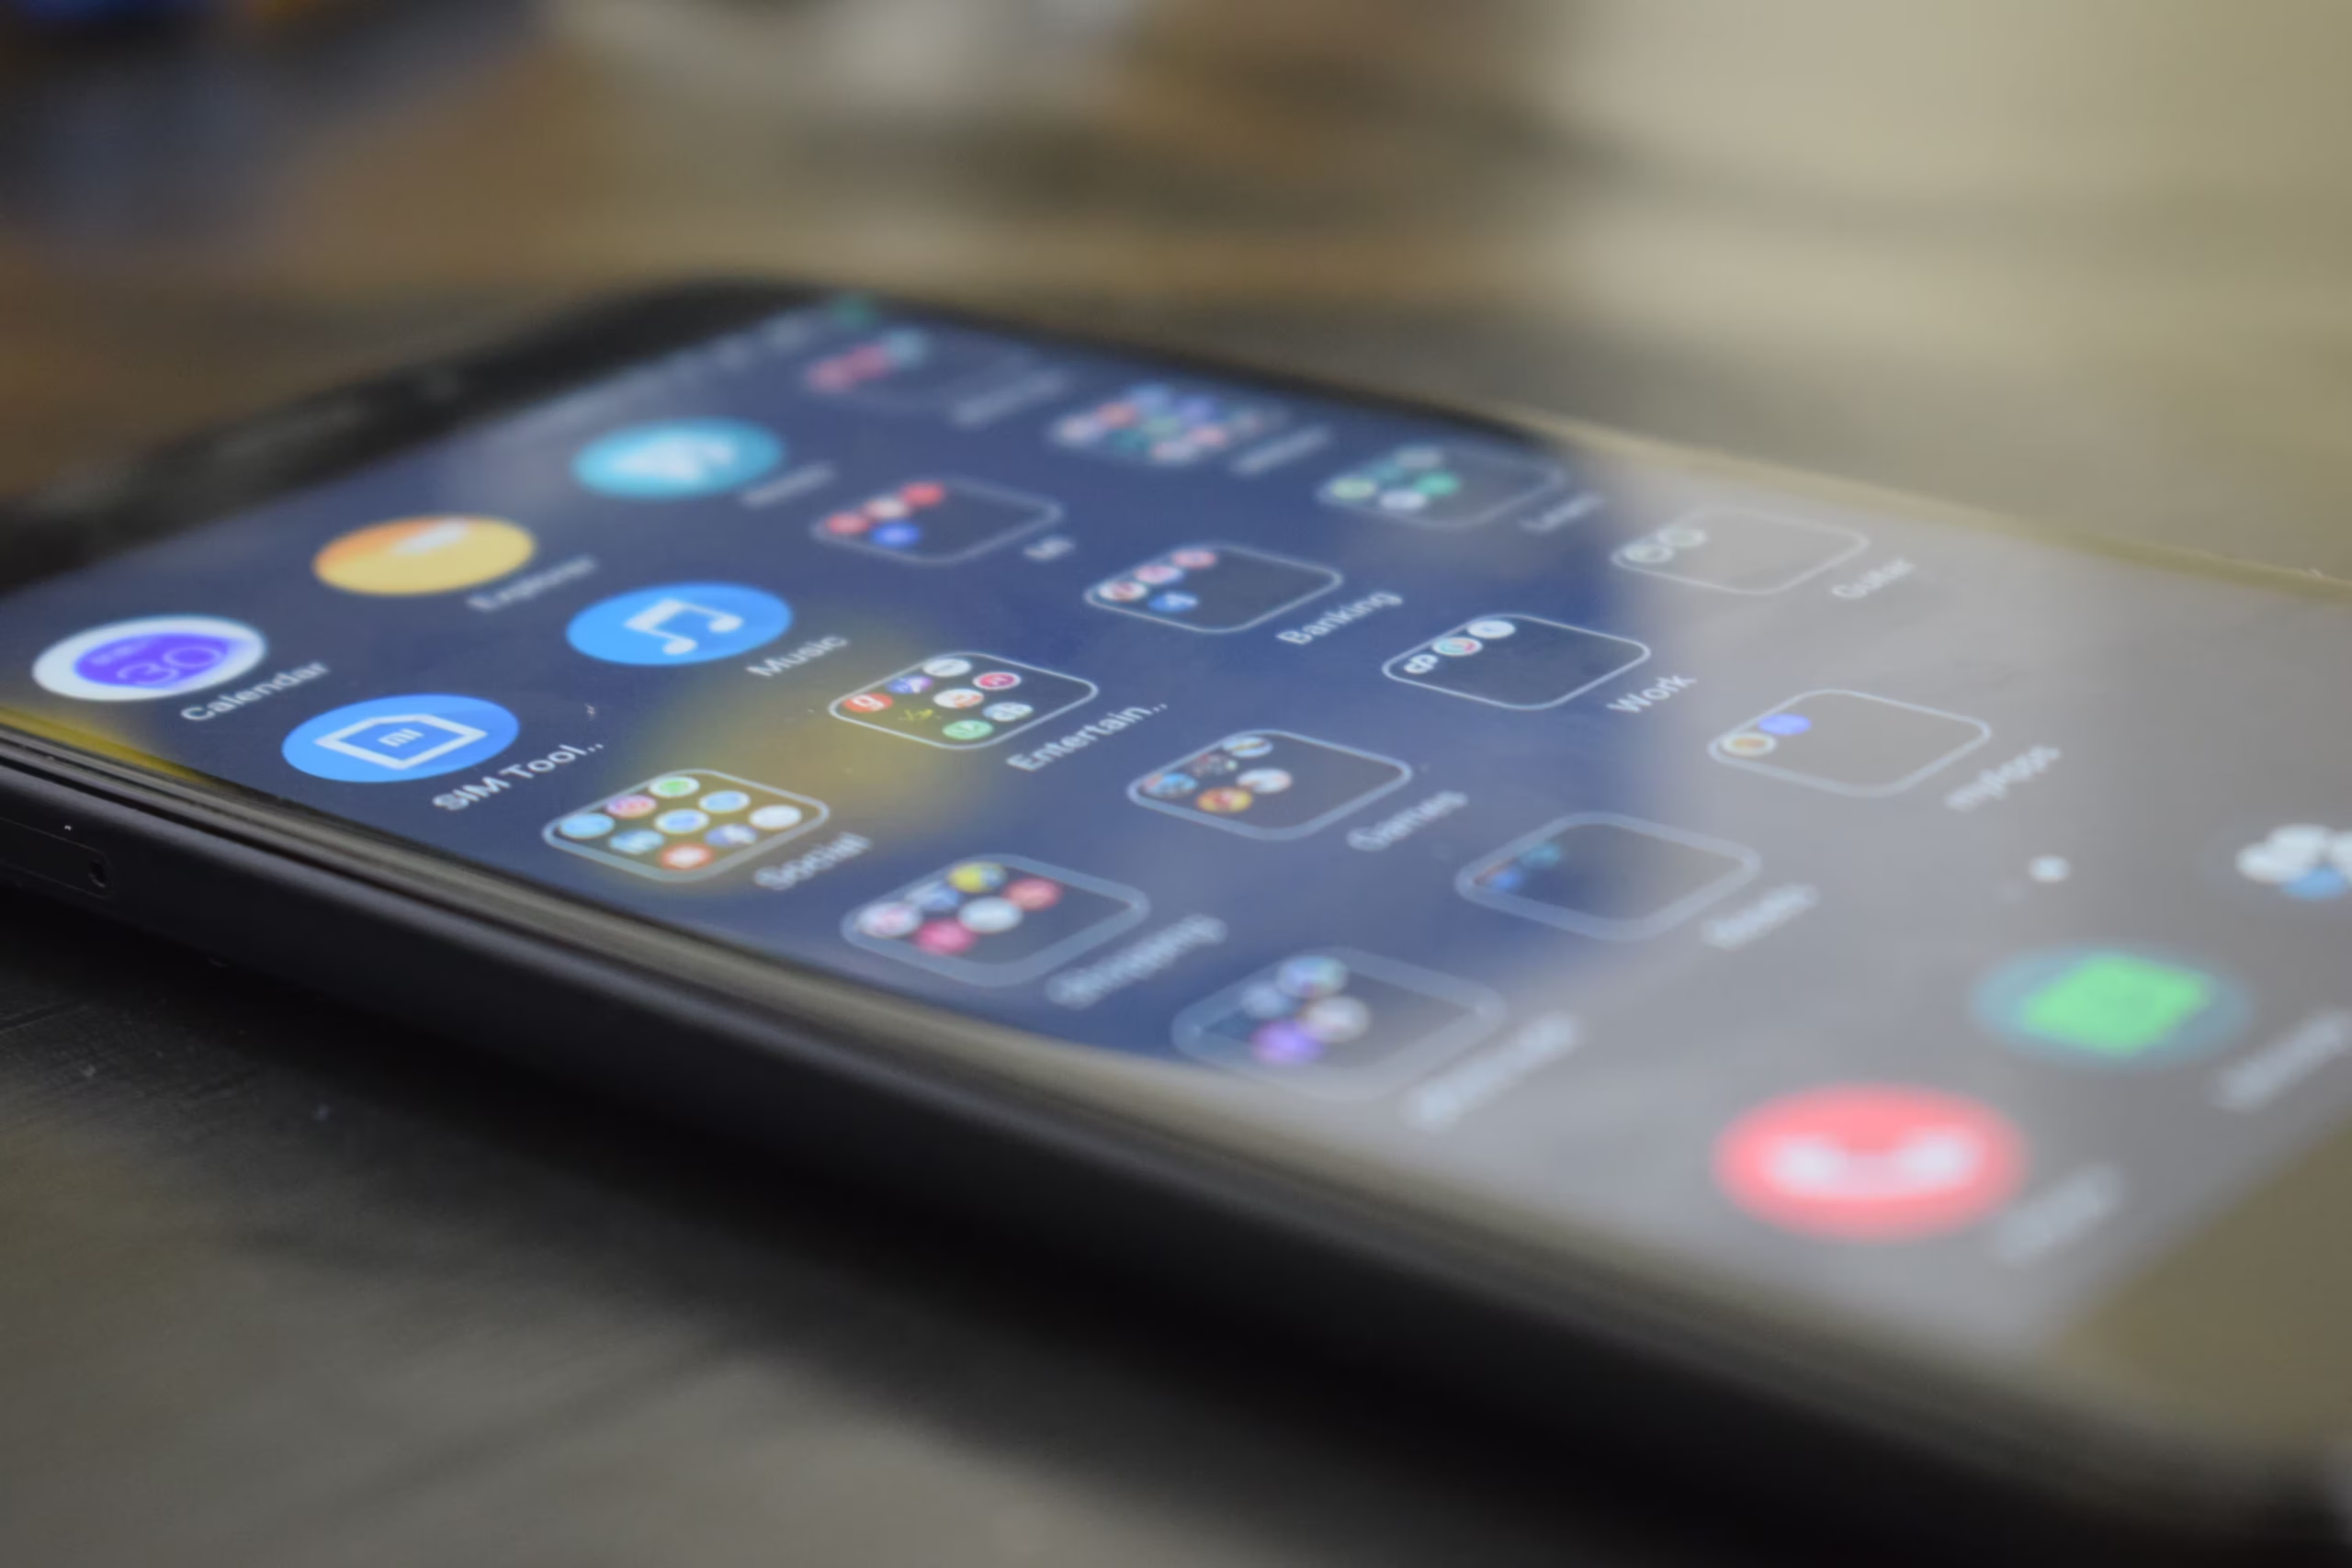
We have all experienced this exact digital heartbreak. You are on vacation, or perhaps you just dressed up for a professional headshot. You pull out your modern smartphone, line up the perfect shot, and snap the picture. When you check your camera roll, the image is absolutely stunning. The colors are vibrant, the background is perfectly focused, and every detail is razor-sharp.
Excited to share it with your network, you open your favorite social media app, select the photo, and hit “Post.”
But the moment the image actually loads on your public feed, your heart sinks. The crisp edges suddenly look slightly jagged. The vibrant colors feel washed out. The entire picture suffers from a hazy, soft blur that makes it look like it was taken on a flip phone from 2008. It feels as though the social media platform actively took your high-quality memory and sabotaged it on purpose.
You are not imagining things, and it is absolutely not the fault of your camera. As our phones capture increasingly massive, high-definition files, social media companies are fighting back to save their own server costs. If you upload a massive, irregularly shaped photograph directly from your camera roll, the platform does not politely adjust it for you. Instead, it ruthlessly crushes the image, destroying your photo’s clarity in the process.
The good news? You do not need to buy an expensive Adobe Photoshop subscription or download a confusing graphic design app to fix this. By spending thirty seconds adjusting your image in a free, browser-based tool like Unwebtools before you open the social media app, you can completely bypass the blur and guarantee your photos look exactly as beautiful online as they do on your phone.
The Secret Reason Apps Ruin Your Favorite Pictures
To beat the system, you have to understand exactly what happens behind the scenes the second you press the “Share” button. The annoying social media blur you see is caused by three invisible, automated traps:
- The Massive Storage Tax: Social media companies like Meta and LinkedIn host billions of new images every single day. If everyone uploaded raw, 15-megabyte photos directly from their newest iPhones, the company’s server storage bills would bankrupt them, and the app would take several minutes just to load a single post on your screen. To keep the app scrolling instantly, they enforce strict file limits that you never see.
- The Brutal “Crunch” Algorithm: If your uploaded photo exceeds their hidden file size limit, the platform forces your image through a highly aggressive compression algorithm. Think of this algorithm as a robotic trash compactor. It deletes millions of invisible pixels to shrink the file’s physical weight. Unfortunately, this robot is not an artist—it frequently deletes the exact pixels required to keep human faces sharp, text legible, and background colors vibrant.
- The Awkward “Squish” Effect: If you upload a tall, rectangular portrait to a platform feed that is hard-coded to expect a perfectly square image, the platform’s robot automatically chops off the top and bottom. If it expects a vertical photo and you upload a wide landscape, it aggressively stretches or squishes the pixels to make it fit, instantly distorting your face and surroundings.
The 2026 Cheat Sheet for Crystal-Clear Uploads
The ultimate secret to keeping your photos crisp is brilliantly simple: never let the social media platform edit your photo.
You must hand the app an image that is already perfectly sized. When you upload a photo that already matches their exact required dimensions, the platform’s robotic trash compactor ignores your file completely. It simply posts the image exactly as it is.
In 2026, a width of 1080 pixels remains the absolute gold standard for feed clarity across almost every major mobile application. Keep this easy cheat sheet handy before your next major upload:
| Where You Are Posting | The Shape You Need | Exact Pixel Numbers to Type |
| Instagram Feed (Square) | Perfect Square | 1080 x 1080 pixels |
| Instagram Feed (Portrait) | Tall Rectangle | 1080 x 1350 pixels |
| Instagram Stories & Reels | Full Smartphone Screen | 1080 x 1920 pixels |
| LinkedIn Profile Picture | Cropped to a Circle | 400 x 400 pixels |
| LinkedIn Company Banner | Wide Landscape | 1128 x 191 pixels |
| Facebook Feed Image | Perfect Square | 1080 x 1080 pixels |
| YouTube Video Thumbnail | Widescreen TV | 1280 x 720 pixels |
Shape vs. Detail: The Only Two Terms You Need to Know
If looking at numbers like “1080 x 1350” feels overwhelming or too technical, do not panic. It helps to separate the two main concepts of digital images using everyday objects. You only need to understand two things:
- Aspect Ratio (The Picture Frame): Think of aspect ratio exactly like a physical wooden picture frame you buy at a home goods store. A 1:1 ratio is a perfect square frame. A 9:16 ratio is the tall shape of your smartphone screen when held upright. A 16:9 ratio is the shape of a widescreen television mounted on your wall. If you try to shove a widescreen printed photograph into a square picture frame, you are forced to take a pair of scissors and chop off the left and right sides of your memory.
- Resolution (The Paint Dots): Resolution is simply the number of tiny digital dots (called pixels) that make up the image inside that wooden frame. A 1080 x 1080 image means the picture is exactly 1,080 dots wide and 1,080 dots tall. While having more dots sounds like it would make the picture better, having too many dots is exactly what triggers the platform’s robot to crush and ruin your photo.
The 30-Second Browser Trick for Perfect Picture Quality
Instead of crossing your fingers and hoping Instagram or LinkedIn will handle your important photo delicately, take control of the process yourself. You can properly format your image directly in your standard web browser (like Chrome, Safari, or Edge) without downloading any sketchy mobile apps or paying for software.
Here is the foolproof, four-step routine to use before posting:
- Open a Free Browser Utility: Navigate to a free, ad-light image utility platform like Unwebtools on your phone or laptop. Drag your photograph directly from your folders onto the webpage.
- Punch in the Cheat Sheet Numbers: Reference the dimension chart above. If you are posting a tall, striking photo to your Instagram feed, type “1080” into the width box and “1350” into the height box.
- Frame It Visually: The web tool will instantly overlay a crop box over your photo that perfectly matches the platform’s required shape. You do not have to guess; simply drag the box with your mouse or finger until the best part of your photo (like your face or the sunset) is perfectly centered inside it.
- Save and Post: Click the export or save button. The tool instantly saves a perfectly sized, web-optimized copy to your device’s download folder. When you upload this new copy to social media, the platform accepts it instantly without running its destructive compression algorithm. Your image stays razor-sharp.
Common Questions About Fixing Blurry Images
Should I save my pictures as a JPEG or a PNG?
JPEG (or JPG) is the universal standard for highly detailed, real-world photographs involving people, pets, and landscapes. However, if you are uploading a graphic that contains a lot of typed text, a sharp business logo, or solid blocks of bright background color, PNG is a much better format. PNG prevents ugly, blocky artifacts from appearing around the edges of your letters.
Why do my photos look fine on my laptop but blurry when I check my phone?
This frustrating issue is often tied to hidden data-saving settings on your mobile device. Many social media apps (and standard web browsers) detect when you are walking around using cellular data instead of Wi-Fi. To save your data plan, the app automatically serves you a lower-quality, heavily compressed version of the image.
Does applying an Instagram filter cause more blur?
Applying a color filter does not inherently blur an image, as filters are simply color and contrast overlays on top of the pixels. The blur actually occurs immediately before the filter is applied, during the initial size mismatch and compression phase. If you fix the size first using a browser tool, your filters will look substantially better.
Is it safe to upload personal photos to a free online image resizer?
It is completely safe if you are using a platform built on modern, “client-side” architecture. On trustworthy sites, the cropping and resizing math is performed entirely inside your device’s active memory. The photograph never leaves your laptop or phone, and no copy is ever sent to an external cloud server, completely guaranteeing your privacy.
Uploading a great photo should never feel like a lottery. Stop letting automated algorithms dictate how your professional headshots, business graphics, and personal memories look to the world. By taking 30 seconds to resize and crop your images to the exact dimensions social media platforms demand, you can eliminate upload blur permanently. Bookmark a fast, free browser utility like Unwebtools, keep the dimension cheat sheet handy, and ensure your digital footprint is always displayed in crystal-clear high definition.